
How to successfully prepare magazine-worthy savories
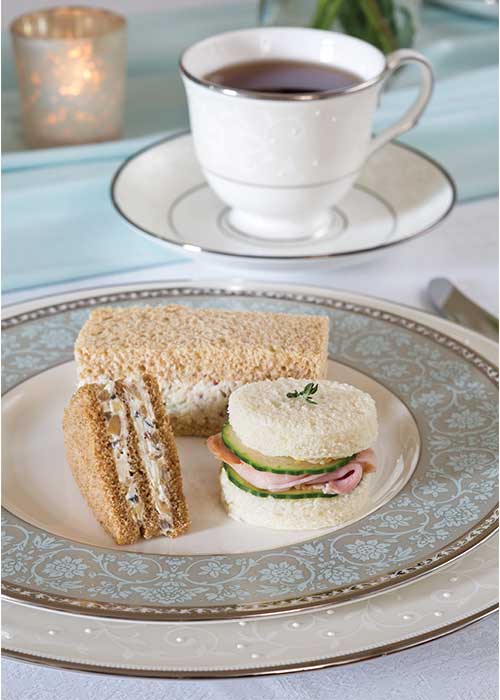
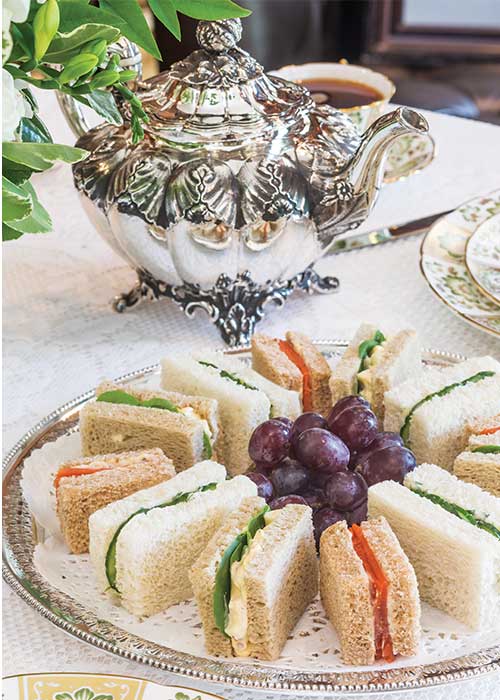
Tasty tea sandwiches are one of the most recognizable hallmarks of afternoon tea, and we are often asked how we get the sandwiches pictured in the pages of TeaTime to look so neat and orderly. Manipulating the bread and the various ingredients in a recipe to ensure a wonderful result takes skill and patience, but mostly knowledge of helpful tips. To continue the celebration of our 20th anniversary, we asked our editor, recipe developers, and food stylists in our test kitchen to kindly “spill the tea” and share their advice for making attractive and delicious tea sandwiches. Here are their tips for preparing picture-perfect bites.
The Right Bread
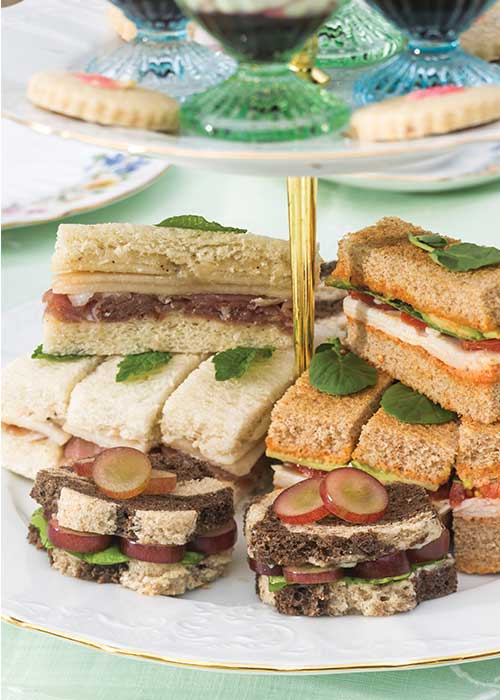
Since most of us would tend to select the freshest and softest bread possible, we should remember that isn’t the best course of action when it comes to making tea sandwiches. “Use a firm bread for tea sandwiches. It will cut easier and hold up better to spreads and fillings,” recipe developer Janet Lambert advises. “And choose a bread whose flavor and appearance will complement the taste and color of the filling,” says editor Lorna Reeves.
Crisp Edges
To guarantee nice, straight edges, instead of crimped ones, for cut-out bread shapes, place the bread in the freezer until it is at least quite firm, if not solidly frozen. “Freeze the bread before using cutters to cut rounds or other shapes from it; this will create crisp clean cuts,” Janet explains. And if rectangles, triangles, or squares are desired but cutters aren’t being used, for proper accuracy and efficiency, “stack three to four frozen bread pieces on top of each other to get more identical sizes for matching up, and then cut with a large knife,” explains food stylist Katie Moon Dickerson. The bread shapes then can be placed in the freezer in an airtight container for longer storage or can be wrapped with damp paper towels and stored in an airtight container in the refrigerator for use within a day.
Finessing the Fillings
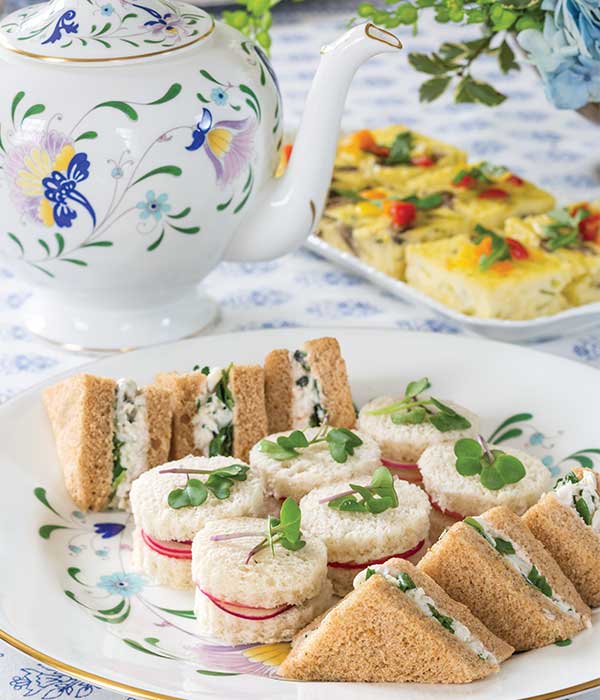
For fillings such as chicken salad, pimiento cheese, egg salad, and the like, Katie suggests “to not be afraid to use a piping bag.” Putting the filling into a piping bag fitted with a large round tip or with a hole cut in the tip, makes for an easy, tidy, and controlled transition onto the bread, especially if following the contours of a shape is important. If a piping bag is not easily accessible, food stylist Vanessa Rocchio advises “to carefully dollop the filling onto the bread so as not to tear the bread.”
It is also imperative to ensure that the filling is not too wet, which will result in it spilling over the sides and making the sandwich challenging to slice. “If the filling is a bit soft, and cutting is difficult, simply put the whole sandwiches in the freezer until the filling is set, and then cut as indicated in the recipe,” Lorna says.
 “A thin coat of unsalted butter spread on the bread will keep colorful fillings from soaking through the bread and discoloring it,” notes food stylist Kathleen Kanen.
Layered fillings, such as sliced deli meats, leafy greens, and cheeses, should be trimmed or ruffled to fit the shape of the bread. And to ensure sandwiches have even amounts of these fillings, or any filling, for that matter, Lorna advocates weighing out each portion on a food scale.
Once the sandwiches are filled, Janet recommends “to drape with damp paper towels and store in a container in the refrigerator to hold for a few hours before serving.”
Perfect Cuts
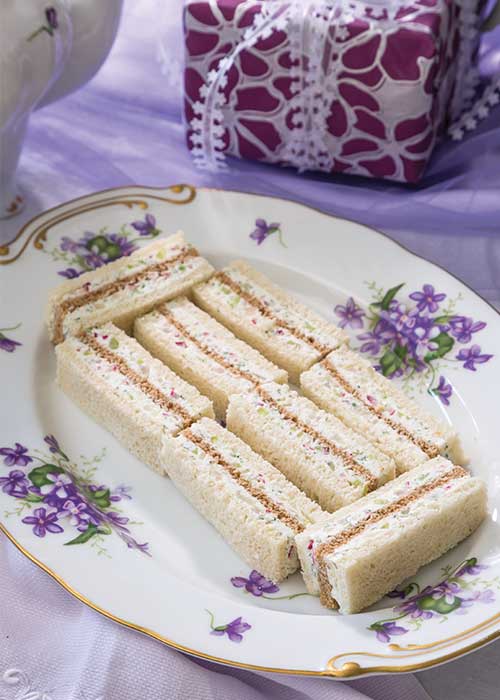
When it comes to cutting the sandwiches, using a long, serrated bread knife in a gentle sawing motion is key. First, one must cut off the crusts, per teatime tradition, and ensure the whole sandwiches of one kind are all the same size and shape. Then, cut the whole sandwiches into squares, rectangles (fingers), or triangles. Be sure to use a gentle hand when working with the bread so that a nice shape is upheld. Serve immediately, or cover with damp paper towels, place in a covered container, and refrigerate for an hour or two until needed.
Discover more seasonal recipes, table settings, and teatime inspiration by ordering your TeaTime subscription today!


Good tips. Well presented to your readers.